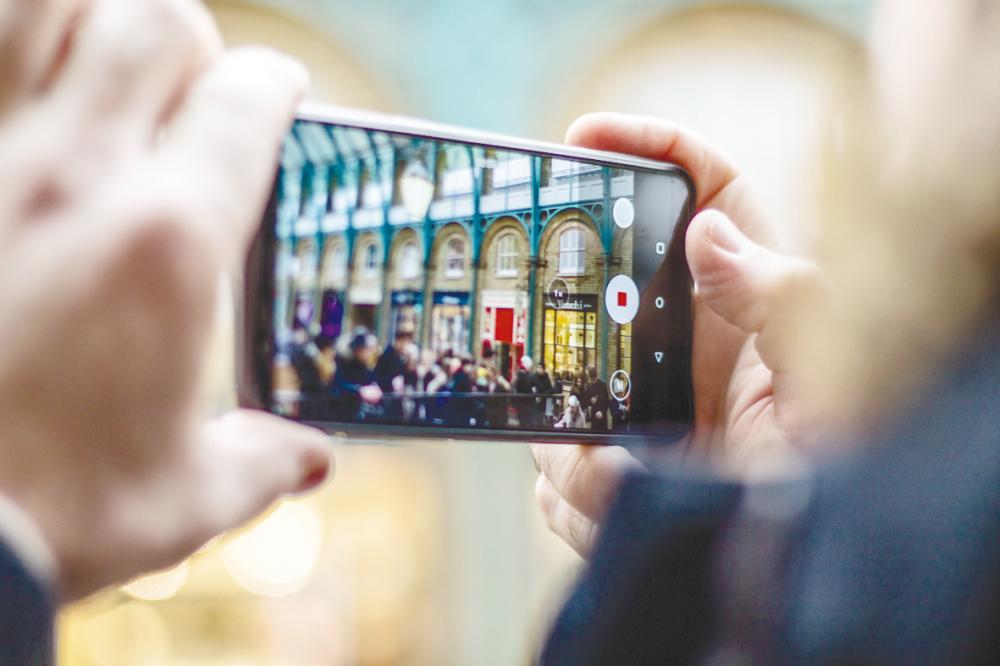
CAMCORDERS were once novel tools to record video directly on to tape. When the technology was made accessible to the consumer, it became a tool for recording memories. A baby’s first step, family gatherings, foreign experience or a performance, just to name a few, are moments that are more powerful on video compared to photos.
Now that we have video cameras in our pockets, all we see are narcissists and gawkers. Let us change that and make home videos a thing again with some basic tips.
Use a third-party app with more controls
The first beginner tip to taking better videos is taking control and using a third-party app. There are plenty out there, just pick a reputable one, do not just go for the free ones. If there are too many ads, it is going to slow you down.
Point and shoot capabilities of your phone’s native camera app are fine for spontaneous situations, but for that special occasion, put a little bit more effort into it.
As an example, I use the Pro Camera App by Moment. What is important is the app’s ability to set recording quality, shutter speed and white balance manually. We will talk about these settings below.
But extra features like a shadow or highlight clipping and focus peaking can be helpful too. But that is for another time.
You do not have to shoot at the highest resolution at the highest frame rate
Smartphones nowadays tout the ability to record in 8K and beyond, at 60FPS and above. The thing is, social media apps downgrade the videos anyway and for home videos, the files are too big and unwieldy.
Unless you are a pro and you use AirDrop, transferring files that big can be a nightmare.
Instead, try taking videos at 4K for the resolution or 1080p if you want speed, with 24fps, no matter how powerful your smartphone is.
Unless you are shooting plenty of action or planning to slow down the video, the cinematic 24fps will give your video a movie-like look while retaining a high resolution and saving you storage space. It is easier to edit too.
For the best result, set your shutter speed to at least double the fps of the video. For example, when shooting at 4K, 24fps video, set the recording shutter speed to 1/48 or whatever is closest to it. With this, you are going to get some nice film-like motion blur.
Try not to set the shutter speed under the frame rate, or else your video will look as if it was recorded on a smartphone.
Lock your white balance
This is especially important when you are shooting outside. Natural light is the best for recording videos, but as your subject or camera moves, the smartphone will adjust the white balance as it records. The effect makes the video look like a light show, shifting from one colour tone to another.
Generally, when shooting outside, lock the white balance at or close to 5600k. If you are shooting inside and you do not know the colour temperature of the light source, use the display on your phone, adjust the white balance until you see that the colour is just right. Most cool daylight bulbs are around 4000k, while warm daylight bulbs are at around 6000k.
By locking your camera’s white balance, you will get a consistent looking video without distracting colour flickers.
Mind the lights
If you can, keep the lighting consistent. Shoot the video when or where it is not too bright or too dark, and avoid shifting between the two too much. Cameras on smartphones take time to adjust and most do not have great dynamic range, so switching between light and dark will make the video look weird.
Use what you got
Sure, a tripod, ND filters, a gimbal and other accessories would help. But we are keeping it simple here. Using a third-party app with manual controls is almost impossible to avoid and it is perhaps the only purchase you will have to make to level up your mobile video skills.
Just follow these tips and you will find that videos say things that pictures just can’t.


